jit.gl.shaderのデフォルトサンプルを開くと、なぜかテクスチャマッピングのコードが1mmも書いてなくて、ジオメトリーシェーダーが書いてあるだけで非常に参考にしにくかったので調べてみました。
- テクスチャマッピング
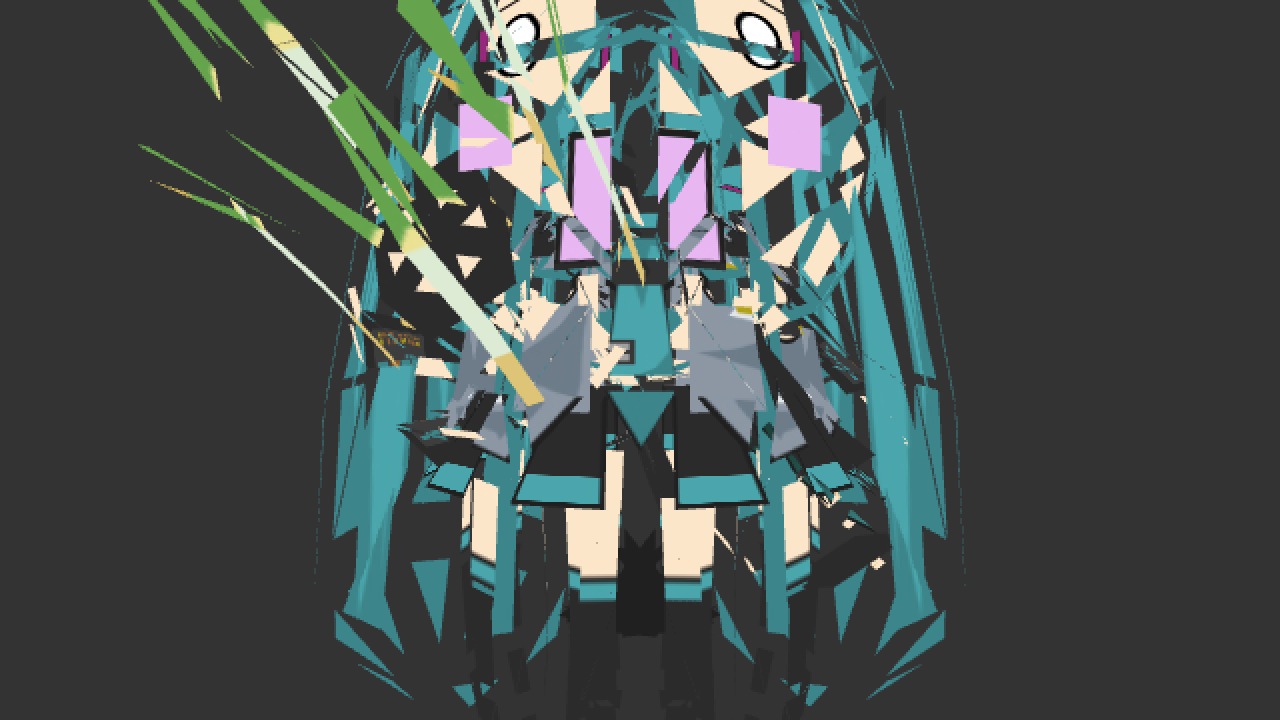
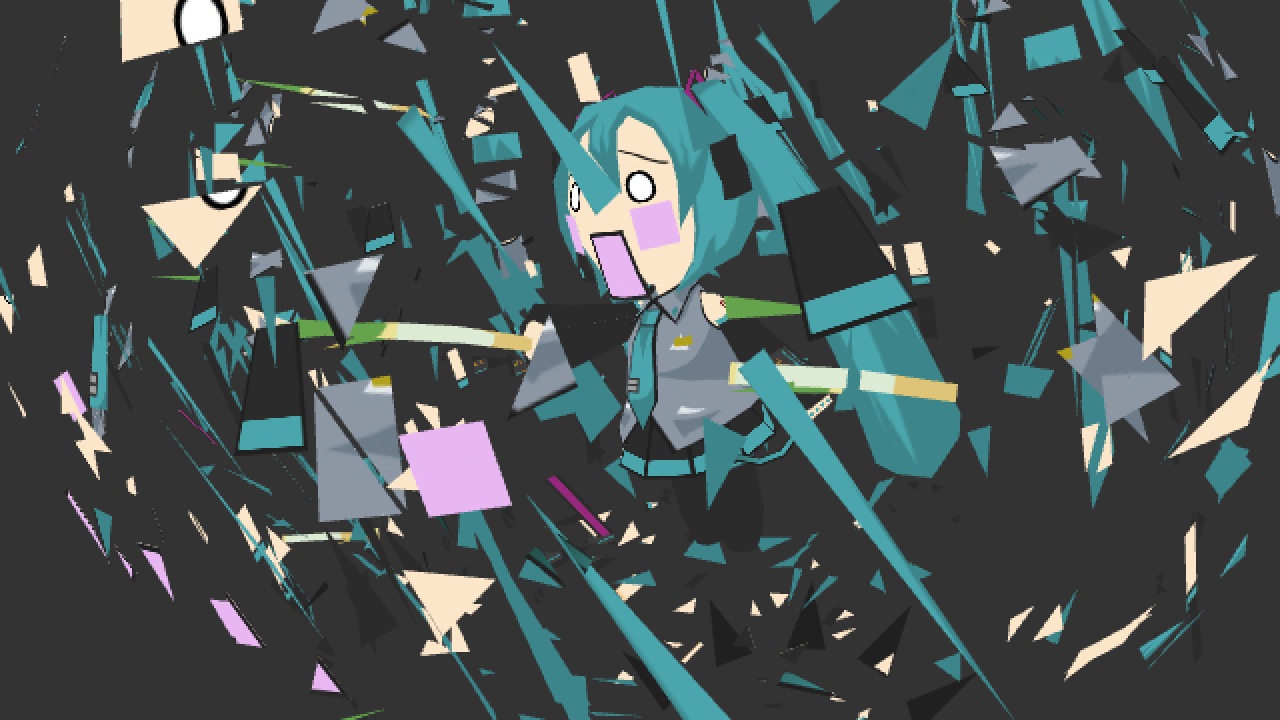
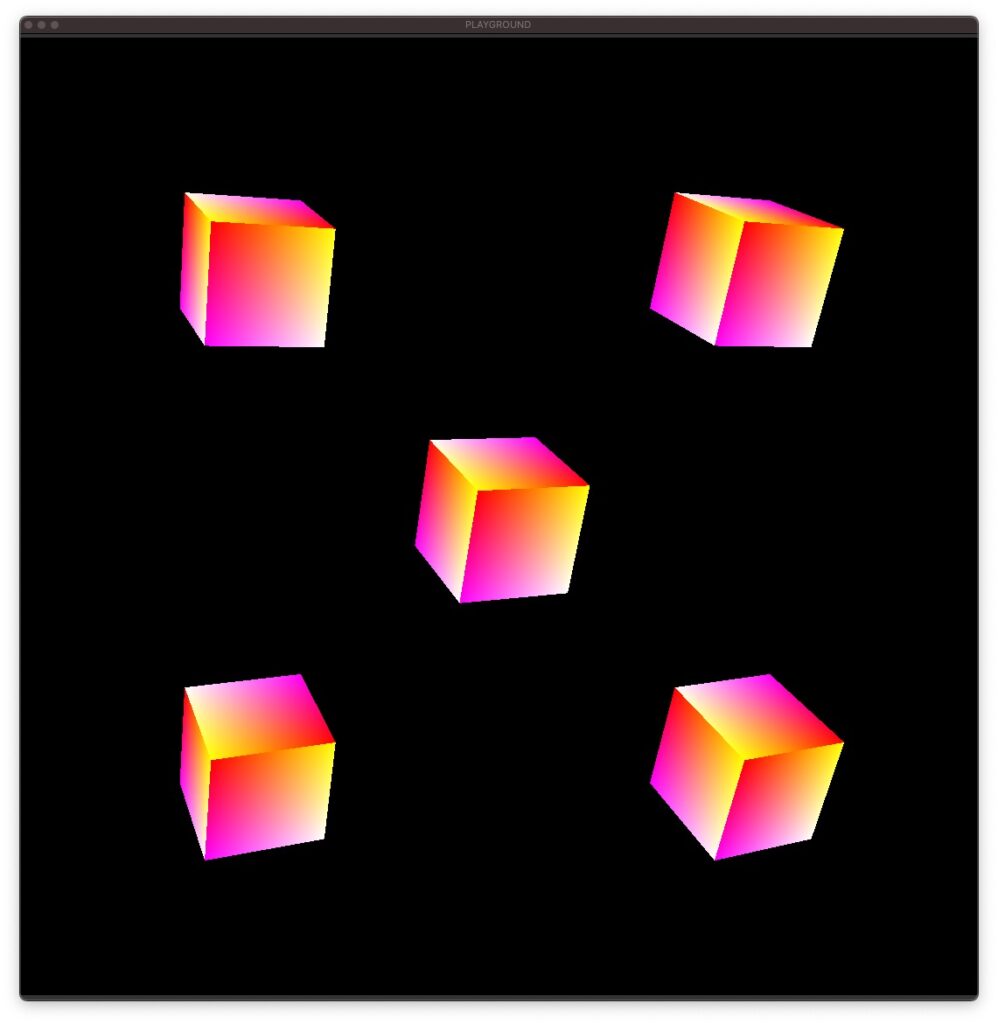
- ジオメトリシェーダーによるモデルの複製
- 英語コメントいっぱい書いた(日本語は書いた瞬間にMaxが落ちる・・・)
JXSの書き方はMax特有のものですが、GLSL(vertex / geometory / fragment)のシェーダー自体は他の環境でも参考になると思うのでどうぞ。
サンプル
<jittershader name="fill-flat-quads">
	<description>Default Shader </description>
    <!-- JXS Document https://docs.cycling74.com/max8/tutorials/jitterchapter99_appendixc -->
    <!-- Vertex -->
	<param name="position" type="vec3" state="POSITION" />
	<param name="modelViewProjectionMatrix" type="mat4" state="MODELVIEW_PROJECTION_MATRIX" />
	<param name="color" type="vec4" state="COLOR" />
    <!-- Texture -->
	<param name="tex0" type="int" default="0" state="TEXTURE0" />
    <param name="textureMatrix0" type="mat4" state="TEXTURE0_MATRIX" />
    <param name="texcoord" type="vec2" state="TEXCOORD" />
    <param name="texdim" type="vec2" state="TEXDIM0" />
	<language name="glsl" version="4.1">
		<bind param="position" program="vp" />
		<bind param="modelViewProjectionMatrix" program="vp" />
		<bind param="textureMatrix0" program="vp" />
		<bind param="color" program="vp" />
		<bind param="texcoord" program="vp" />
        <bind param="tex0" program="fp" />
        <bind param="texdim" program="fp" />
		<program name="vp" type="vertex">
<![CDATA[
#version 410

//in : Each instance can have different values
in vec2 texcoord;
in vec3 position;
in vec4 color;

//uniform : Keeps the same value for all instances
uniform mat4 modelViewProjectionMatrix;
uniform mat4 textureMatrix0;

//out : Structural input to next shader stage
out jit_PerVertex {
	vec4 color;
    vec2 texcoord;
} jit_out;

void main() {
    //Convert vertex vectors to view positions
	gl_Position = modelViewProjectionMatrix * vec4(position, 1.);
	jit_out.color = color;

    //Determine the reference coordinates of the texture for each vertex (by creating them in the vertex shader, linear completion can be applied).
    jit_out.texcoord = vec2(textureMatrix0*vec4(texcoord, 0, 1.));
}
]]>
		</program>
		<program name="gp" type="geometry">
<![CDATA[
#version 410

layout (triangles) in;

layout (triangle_strip, max_vertices=15) out;

in jit_PerVertex {
	vec4 color;
    vec2 texcoord;
} jit_in[];

out jit_PerVertex {
	vec4 color;
    vec2 texcoord;
} jit_out;

float offset = 8.0;
vec4 offsets[4] = vec4[](vec4(-offset, offset, 0, 0), vec4(offset, offset, 0, 0), vec4(-offset, -offset, 0, 0), vec4(offset, -offset, 0, 0));

void main() {

    // Drawing of original primitives
	for(int i = 0; i < 3; i++) {
		jit_out.color = jit_in[i].color;
		jit_out.texcoord = jit_in[i].texcoord;
		gl_Position = gl_in[i].gl_Position;
		EmitVertex();
	}
	EndPrimitive();

    // Drawing of primitives to be replicated
	for(int j = 0; j < 4; j++) {
		for(int i = 0; i < 3; i++) {
			jit_out.color = jit_in[i].color;
			jit_out.texcoord = jit_in[i].texcoord;
			gl_Position = gl_in[i].gl_Position + offsets[j];
			EmitVertex();
		}
		EndPrimitive();
	}
}


]]>
		</program>
		<program name="fp" type="fragment">
<![CDATA[
#version 410

//Textures are placed in GPU memory.
uniform sampler2DRect tex0;

//in : Receiving structure from previous stage.
in jit_PerVertex {
	vec4 color;
    vec2 texcoord;
} jit_in;

//Color output of this pixel for video output
out vec4 fragColor;

void main() {

    //Refer to the appropriate texture position for each pixel
	fragColor = texture(tex0,jit_in.texcoord.xy);
}
]]>
		</program>
	</language>
</jittershader>